Hi there! My wonderful and handsome husband, Taylor, is going to be walking us through his desk building process. But first, here is a picture of us dancing on our wedding day.

Disclaimer: If you are in this "blogging world" and see all the professional's DIY posts, hear me say that this won't be one of those. I don't have a Materials List or a Cost Comparison, and I really don't care what you think about me.
There is something deep in my bones that has me convinced that I'm nothing short of a Craftsman when it comes to anything involving wood-working. However, I've learned the hard way that this is absolutely not the case. I tried to build a coffee table when Tyne and I first got married; we ended up with some ugly table legs that I hacked in half to hold up a few boards that moved around anytime you set a drink down...it was pretty horrible, and Tyne loves to remind me of that fact any chance she gets. She keeps me humble.
I have two categories/objectives that I use when planning home projects where Tyne has deemed me the chief: 1. Guess Work (aka Good Enough) 2. Make Sure It Doesn't Break and Hurt Somebody. Come with me, and you will be in a world of pure imagination.

1. Measure Every-Freaking-Thing
This one falls under the Guess Work category. Since Tyne and I both quasi-work-from-home, we knew that we wanted to turn one of our guest rooms into an office (and "studio" for all of my music equipment). I loved the idea of having a desk that spanned the length of an entire wall so that Tyne and I could both have ample room for activities (and space for work). So I measured said entire wall...and then I measured it again, and again, and again, because my Pops used to tell me that one proverb that says something along the lines of, "measure once, cut 40 times; measure 40 times, have the guy at Home Depot cut it once at whatever dimensions you ask him to"...again Guess Work.

2. Supplies and Suppliers
This too falls under the Guess Work category of planning. Tyne and I are big believers in remaining loyal to your hardware store team; you can't be a "Lowe's Family" and a "Home Depot Family" so freaking choose one you bloody flip-floppers. Tyne and I happen to be loyal to whatever major chain is either offering coupons or is in closer proximity to our house. Home Depot won out on this project based on proximity, and no they aren't sponsoring this blog post, I just enjoy inserting hyperlinks. We bought two 2"x12" boards for the surface of the desk; I don't know what kind of wood they are but they looked hearty which fit the Make Sure It Doesn't Break and Hurt Somebody objective so I got my buddy Christian at Home Depot to cut them down to 11' or so based on my measurements of the room. I bought one 2"x4" and a handful of 1"x2" pieces that I cut down into 18" sections. I spent about 15 minutes trying to make sure I bought all the correct screw sizes and another 20 minutes trying to find the correct stain and sealant; This was a waste of time because everyone knows you are going to have to go back to the store at least one more time before the project is complete. On the second trip to Home Depot, I got the rest of the screws that I forgot the first time as well as a few steel finishing plates for good measure.
*Sidenote: If you don't own a truck, make sure you think through how you are going to get those 11 foot long boards home before you buy them. I was ready to punch some trees and destroy some ant beds when I got to the parking lot and realized the boards were about 6" too long for my Toyota 4runner. Tyne talked me off the ledge and took care of the problem solving while I was in rage mode. Sometimes Guess Work and Good Enough don't work well with efficiency.
3. Sand, Stain, Repeat
This isn't that interesting. I sanded the wood, drank some beer, stained the wood, drank some more beer, and left the boards to dry in the garage overnight. After staring at all the options for Stain and Polyurethane Sealant for about 20 minutes, I ended up choosing a single step option that would knock out the stain and sealant all in one go (#efficiency). I ended up choosing one called Polyshades Stain & Polyurethane in 1 Step by Minwax and I was super happy with how it looked after one coat, so I kept on rolling.

4. Attach Every-Freaking-Thing
Where Guess Work and Make Sure It Doesn't Break and Hurt Somebody join forces to create a sub-objective: When In Doubt, Put Another Screw in the Board. I used the 18" sections of 1"x2" wood pieces to attach the two 2"x12" boards. They would have done the job on their own, but I would hate for the desk to break and hurt somebody, therefore, on my second trip to Home Depot, I decided to grab a few steel finishing plates for insurance purposes. I put about 100 screws through those bad boys and kept on rolling. Tyne had bought some super badass Hair Pin Legs with the intent to use them on a dining table that she commissioned me to build when we first bought our house. She then found a much better table than I could ever build for a great price at the West Elm Outlet, and I subsequently had some legs to use for this desk. I positioned the legs how they would look on the finished desk, got Tyne's approval, and then screwed those bad boys in too.

I used the aforementioned 2"x4" as the wall-side support of the desk. I would love to hear from somebody that has used a stud finder that actually finds studs accurately...hence why Guess Work seems to be a necessary project attribute. I attached the 2"x4" to the "studs" in the wall, and then I put a whole bunch of random anchoring screws through the boards figuring that at least a few of them would hit a stud and provide adequate support for the mounting of a desk (Make Sure It Doesn't Break and Hurt Somebody). Then I stood the desk up into place and attached the desk surface to the 2"x4" boards using more screws than necessary, as per usual. (*Pro Tip: Pilot holes are your friend, don't try to drill screws through a bunch of wood and hope it works. It won't work and you'll just be pissed off at the world). I used my level a good bit through this entire process, but that was mainly so I could look like I knew what I was doing...the desk just happened to be pretty level on it's own so I took credit for that in hopes of impressing Tyne.

5. (Bonus Points) Finishing Touches
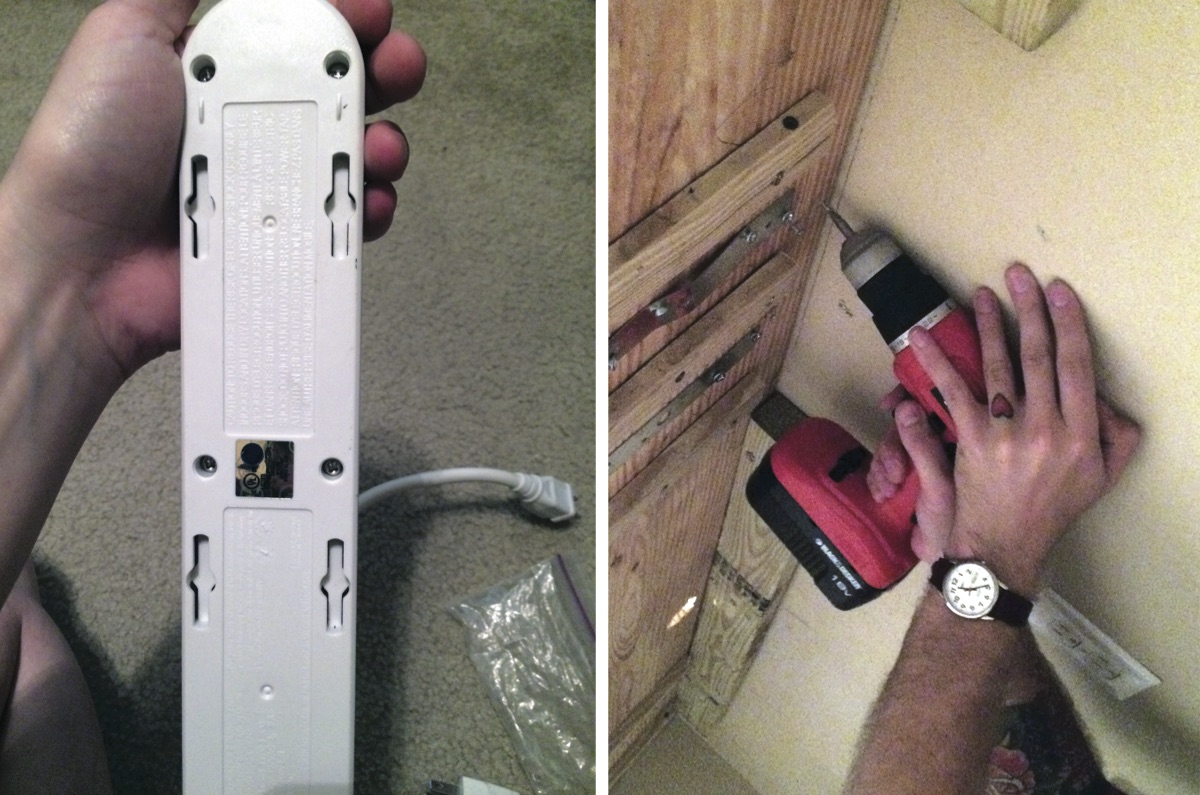
Tyne likes surfaces to be clean and clutter free; I got myself a Hole Saw attachment for my drill so I could cut a couple holes into the desk for power cords to run through. I bought a 2" Hole Dozer on my third trip to Home Depot because the name Hole Dozer is about as heavy metal as it gets. (I also bought a Venus Fly Trap during this trip. I was very happy about that.) I then attached a surge-protector to the underside of the desk because why not go the extra mile when you're building furniture? Tyne came in and "styled" the desk to make it look all cool and awesome, and then found a couple freaking killer looking office chairs on the magic that is Craigslist bargains...Bingo Bango, we've got ourselves a desk.