
Yesterday Taylor and I tackled our very first landscaping project. I think gardening projects might be the most satisfying. The labor is pretty intense and you really do get your hands dirty. Our front yard looks sooo much better now. It is hard to believe the difference. Here is our before:
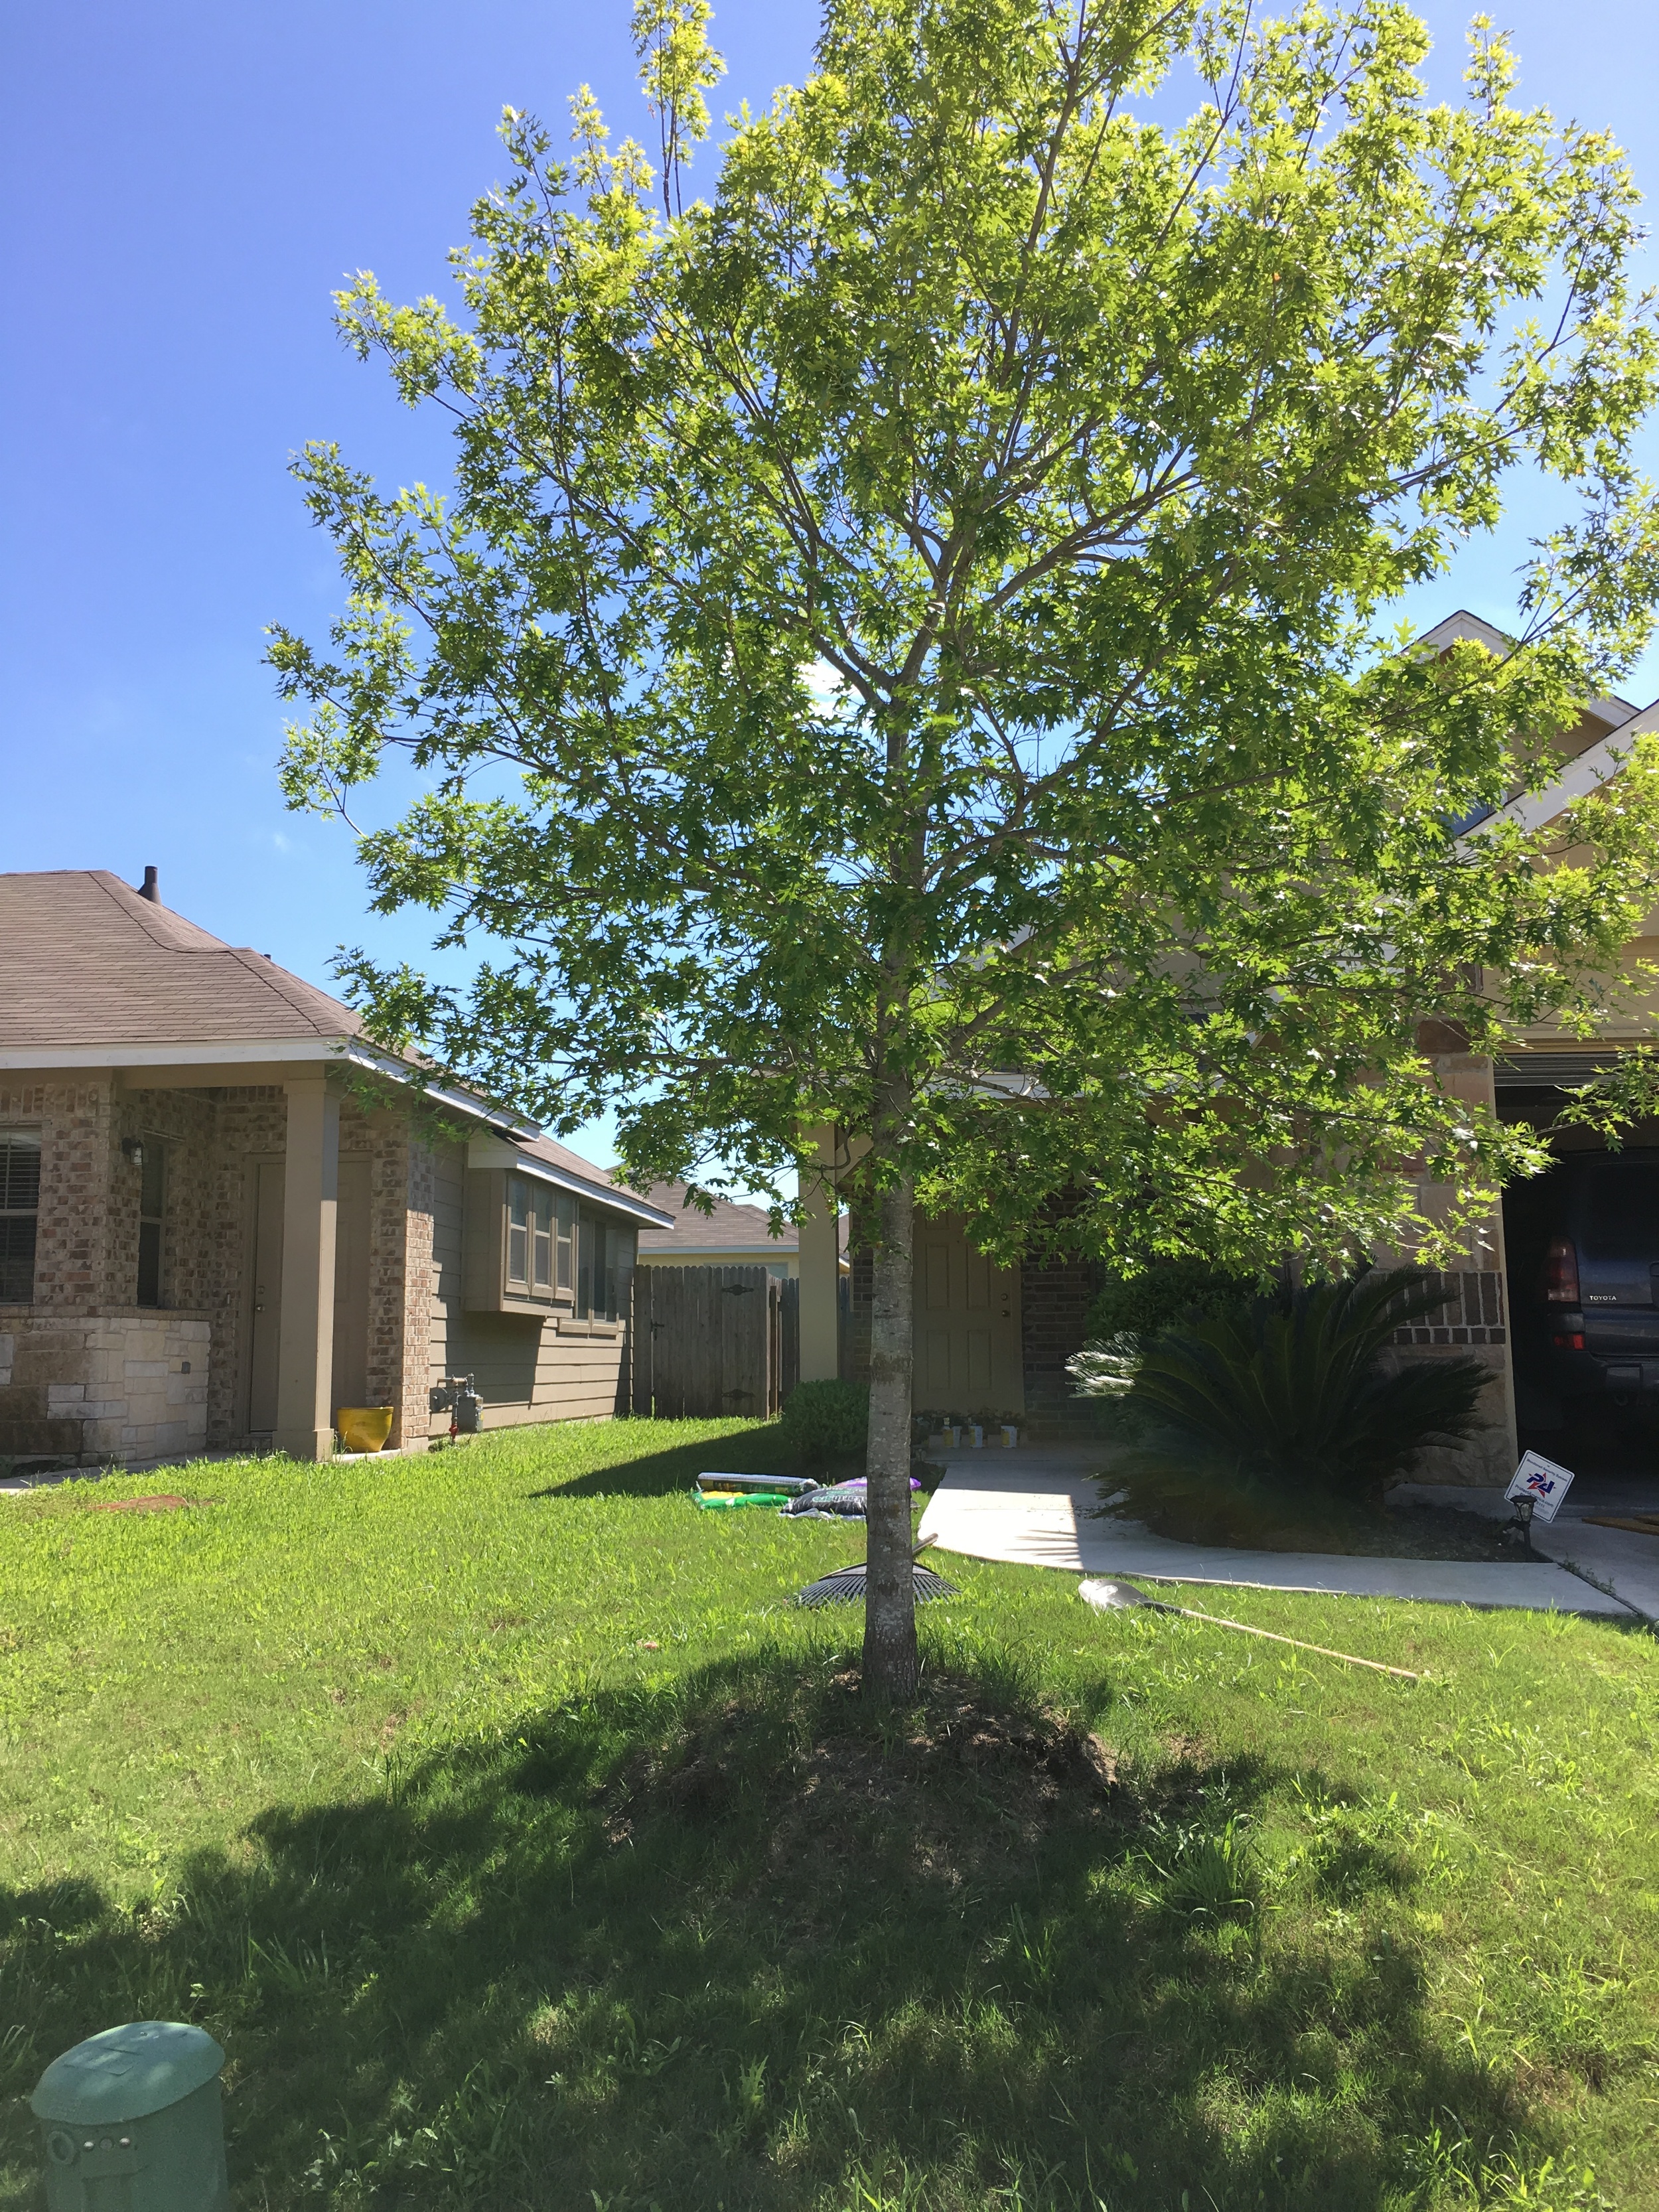
The area around the tree once house flowers (maybe) before we moved in. There was rotting mulch and the grass had pretty much taken over. Like I have mentioned earlier, we hosted a baby shower last weekend. One of our very handy guests mentioned that he created flower beds using fence panels.
Our front yard is on a slope. I didn't want the flower bed to follow the slope. I wanted it to parallel the street. Check out our after.

We didn't do much planning for this project. Before heading out to Home Depot, we measured around the tree to determine what size we wanted our flower bed to be. We decided on 5 feet by 5 feet.
Supplies:
+ 7 cedar fence panels (they are 6 feet tall and 5"3/8 wide)
+ 1 1X1
+Desired flowers, garden soil, mulch
+ 1 Roll of Weed Barrier
+ A Triangle
+ Nail gun
+ Level
+ Shovel
+ Gloves
To Make the Box
Step 1: Cut your panels to your desired size. We cut our panels so that they would be 5 feet. If you don't have access to a saw, Home Depot will do this for you. We lightly sanded ours and used pliers to pull out any staples.
Step 2: Due to our slope, the side closest to the street needed to be twice the height as our side pieces/back piece. Taylor used scrap wood (the pieces that were previously cut off) to attach them using a nail gun.
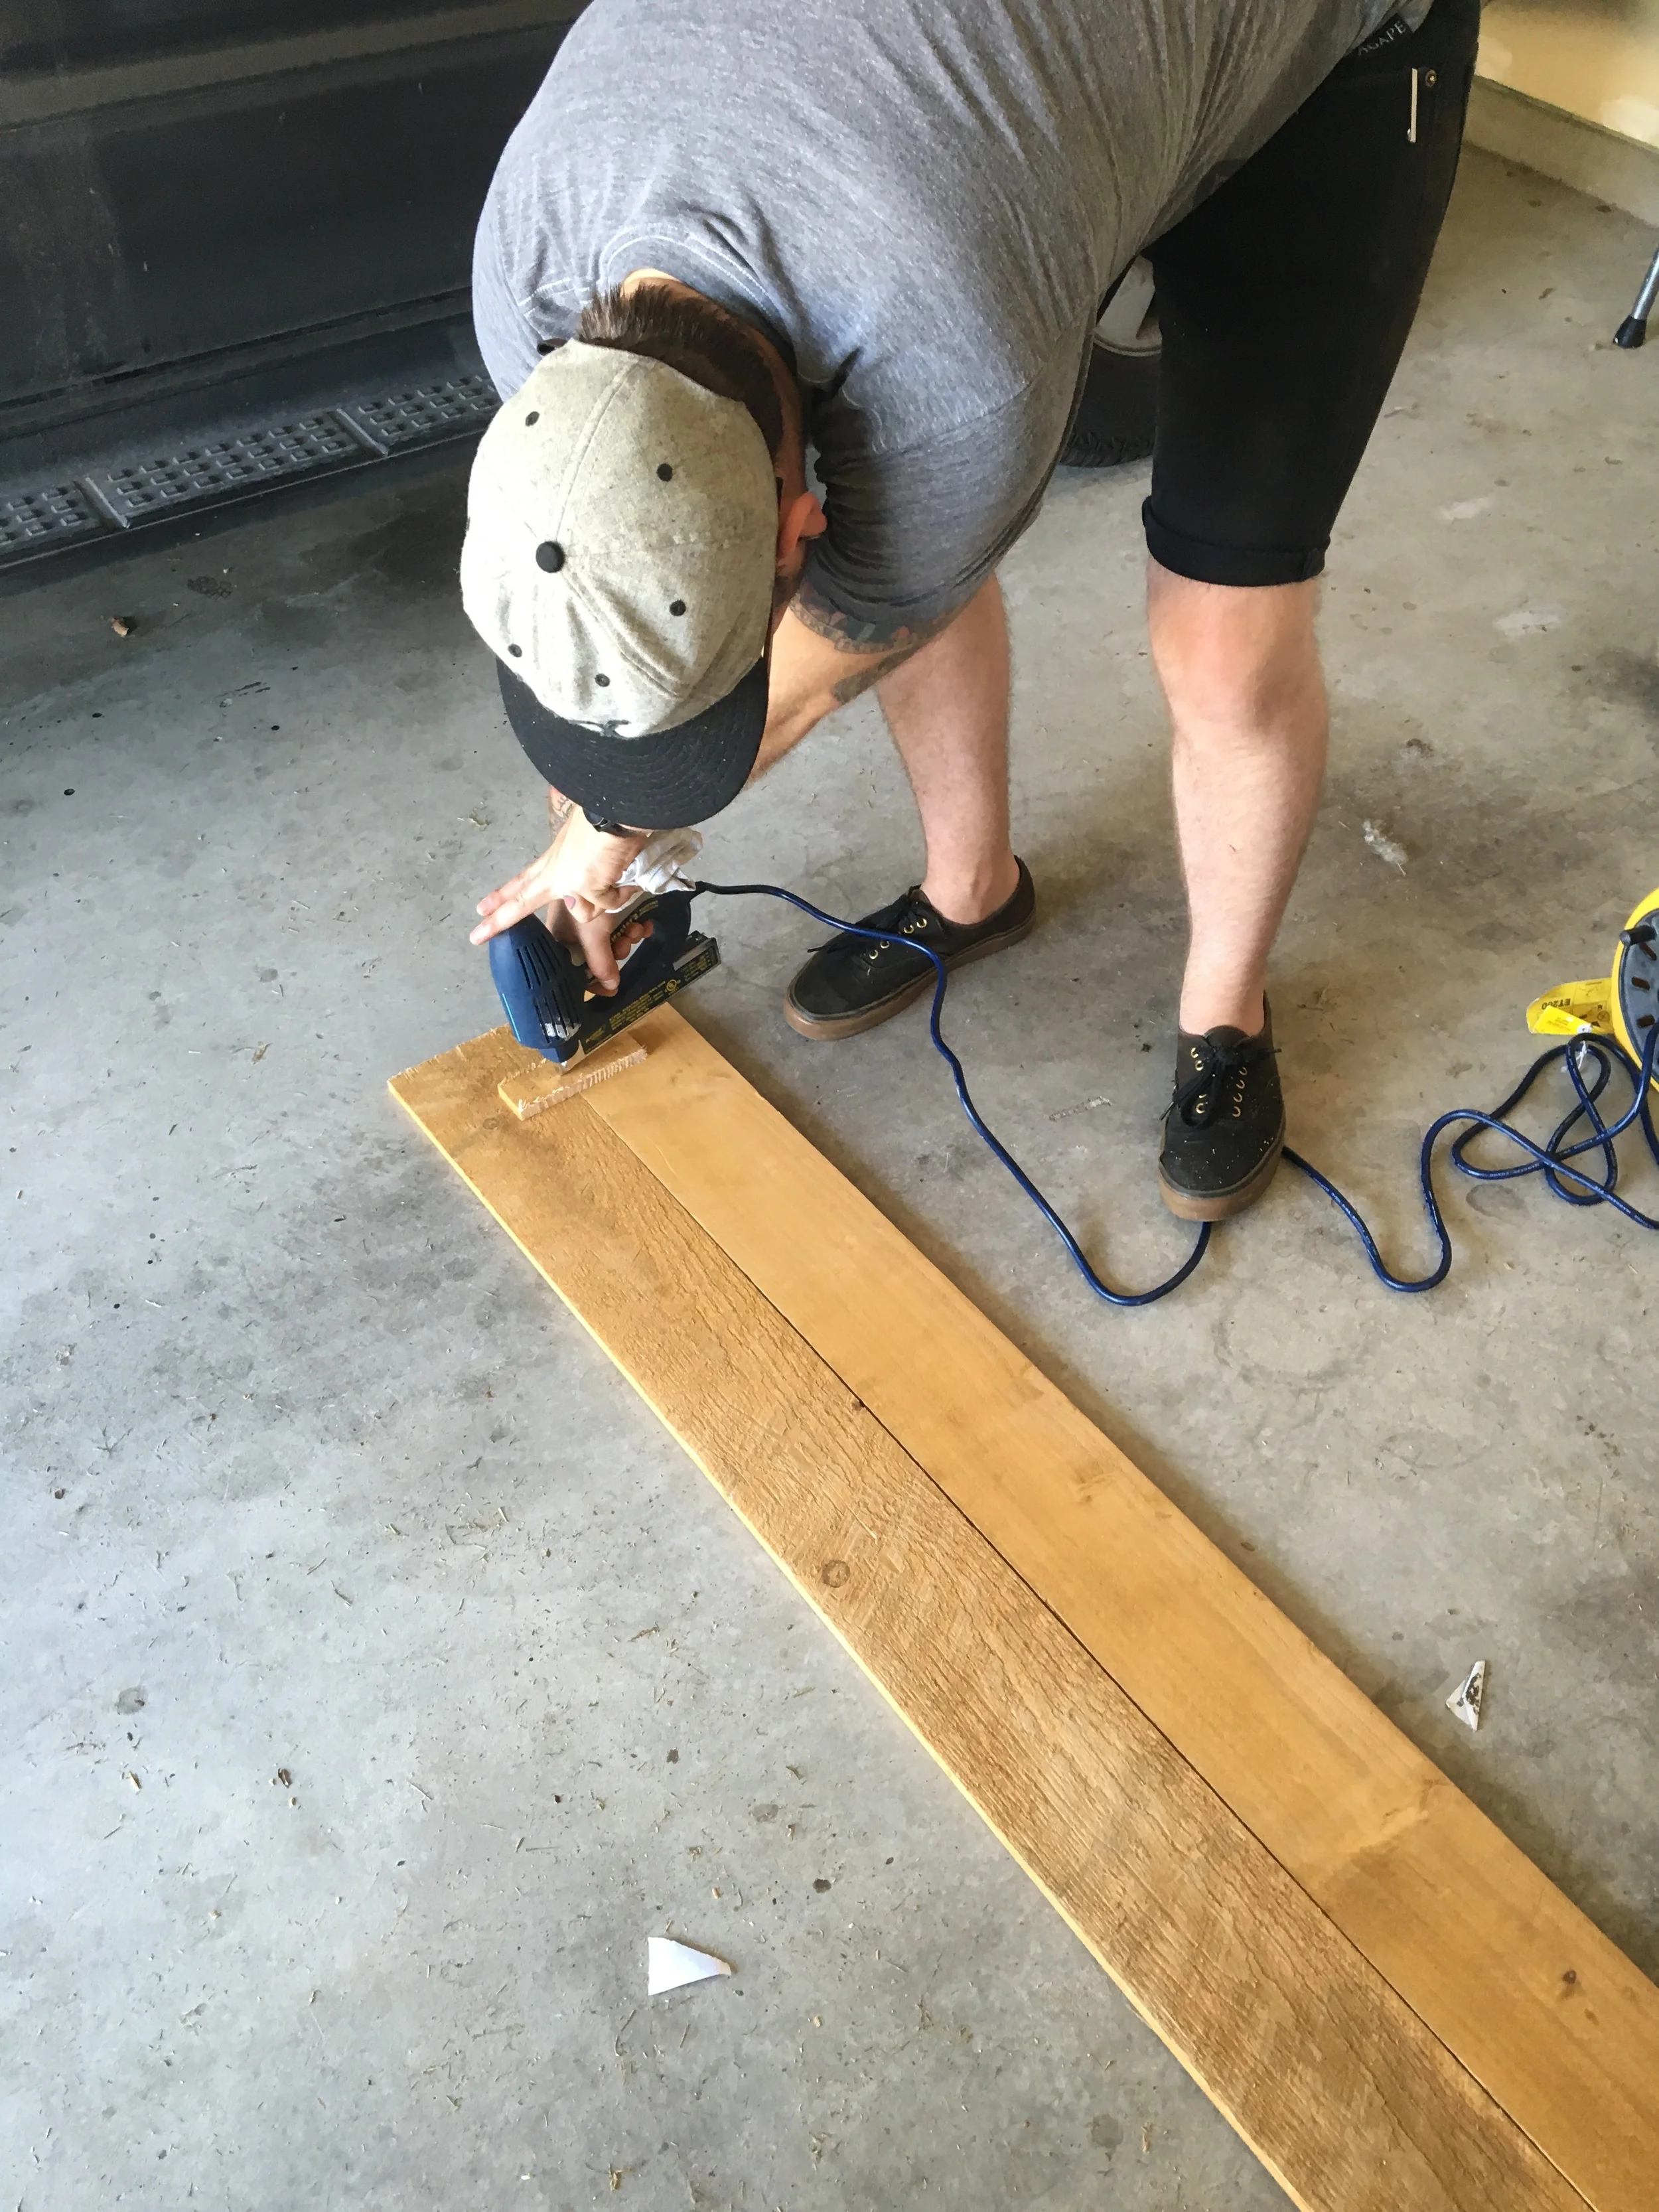
Step 3: Attach 3 pieces of your box together. If your yard is not on a slope, you can attach all of them, but make sure you are doing this around the tree (not in the garage or you won't get it around the tree). We used our nail gun here, but it required more stability, so that is where our 1x1 came in. Keep in mind where you want your wood seams to be. We didn't want the seams to be seen from the street.

Step 4: We moved our project to the yard to figure out how we were going to attach the entire box together. We decided to attach our side pieces to the top of our front piece.

Step 5: Again, use a 1x1 piece to attach the front piece to the side piece. Here is what it will look like after.
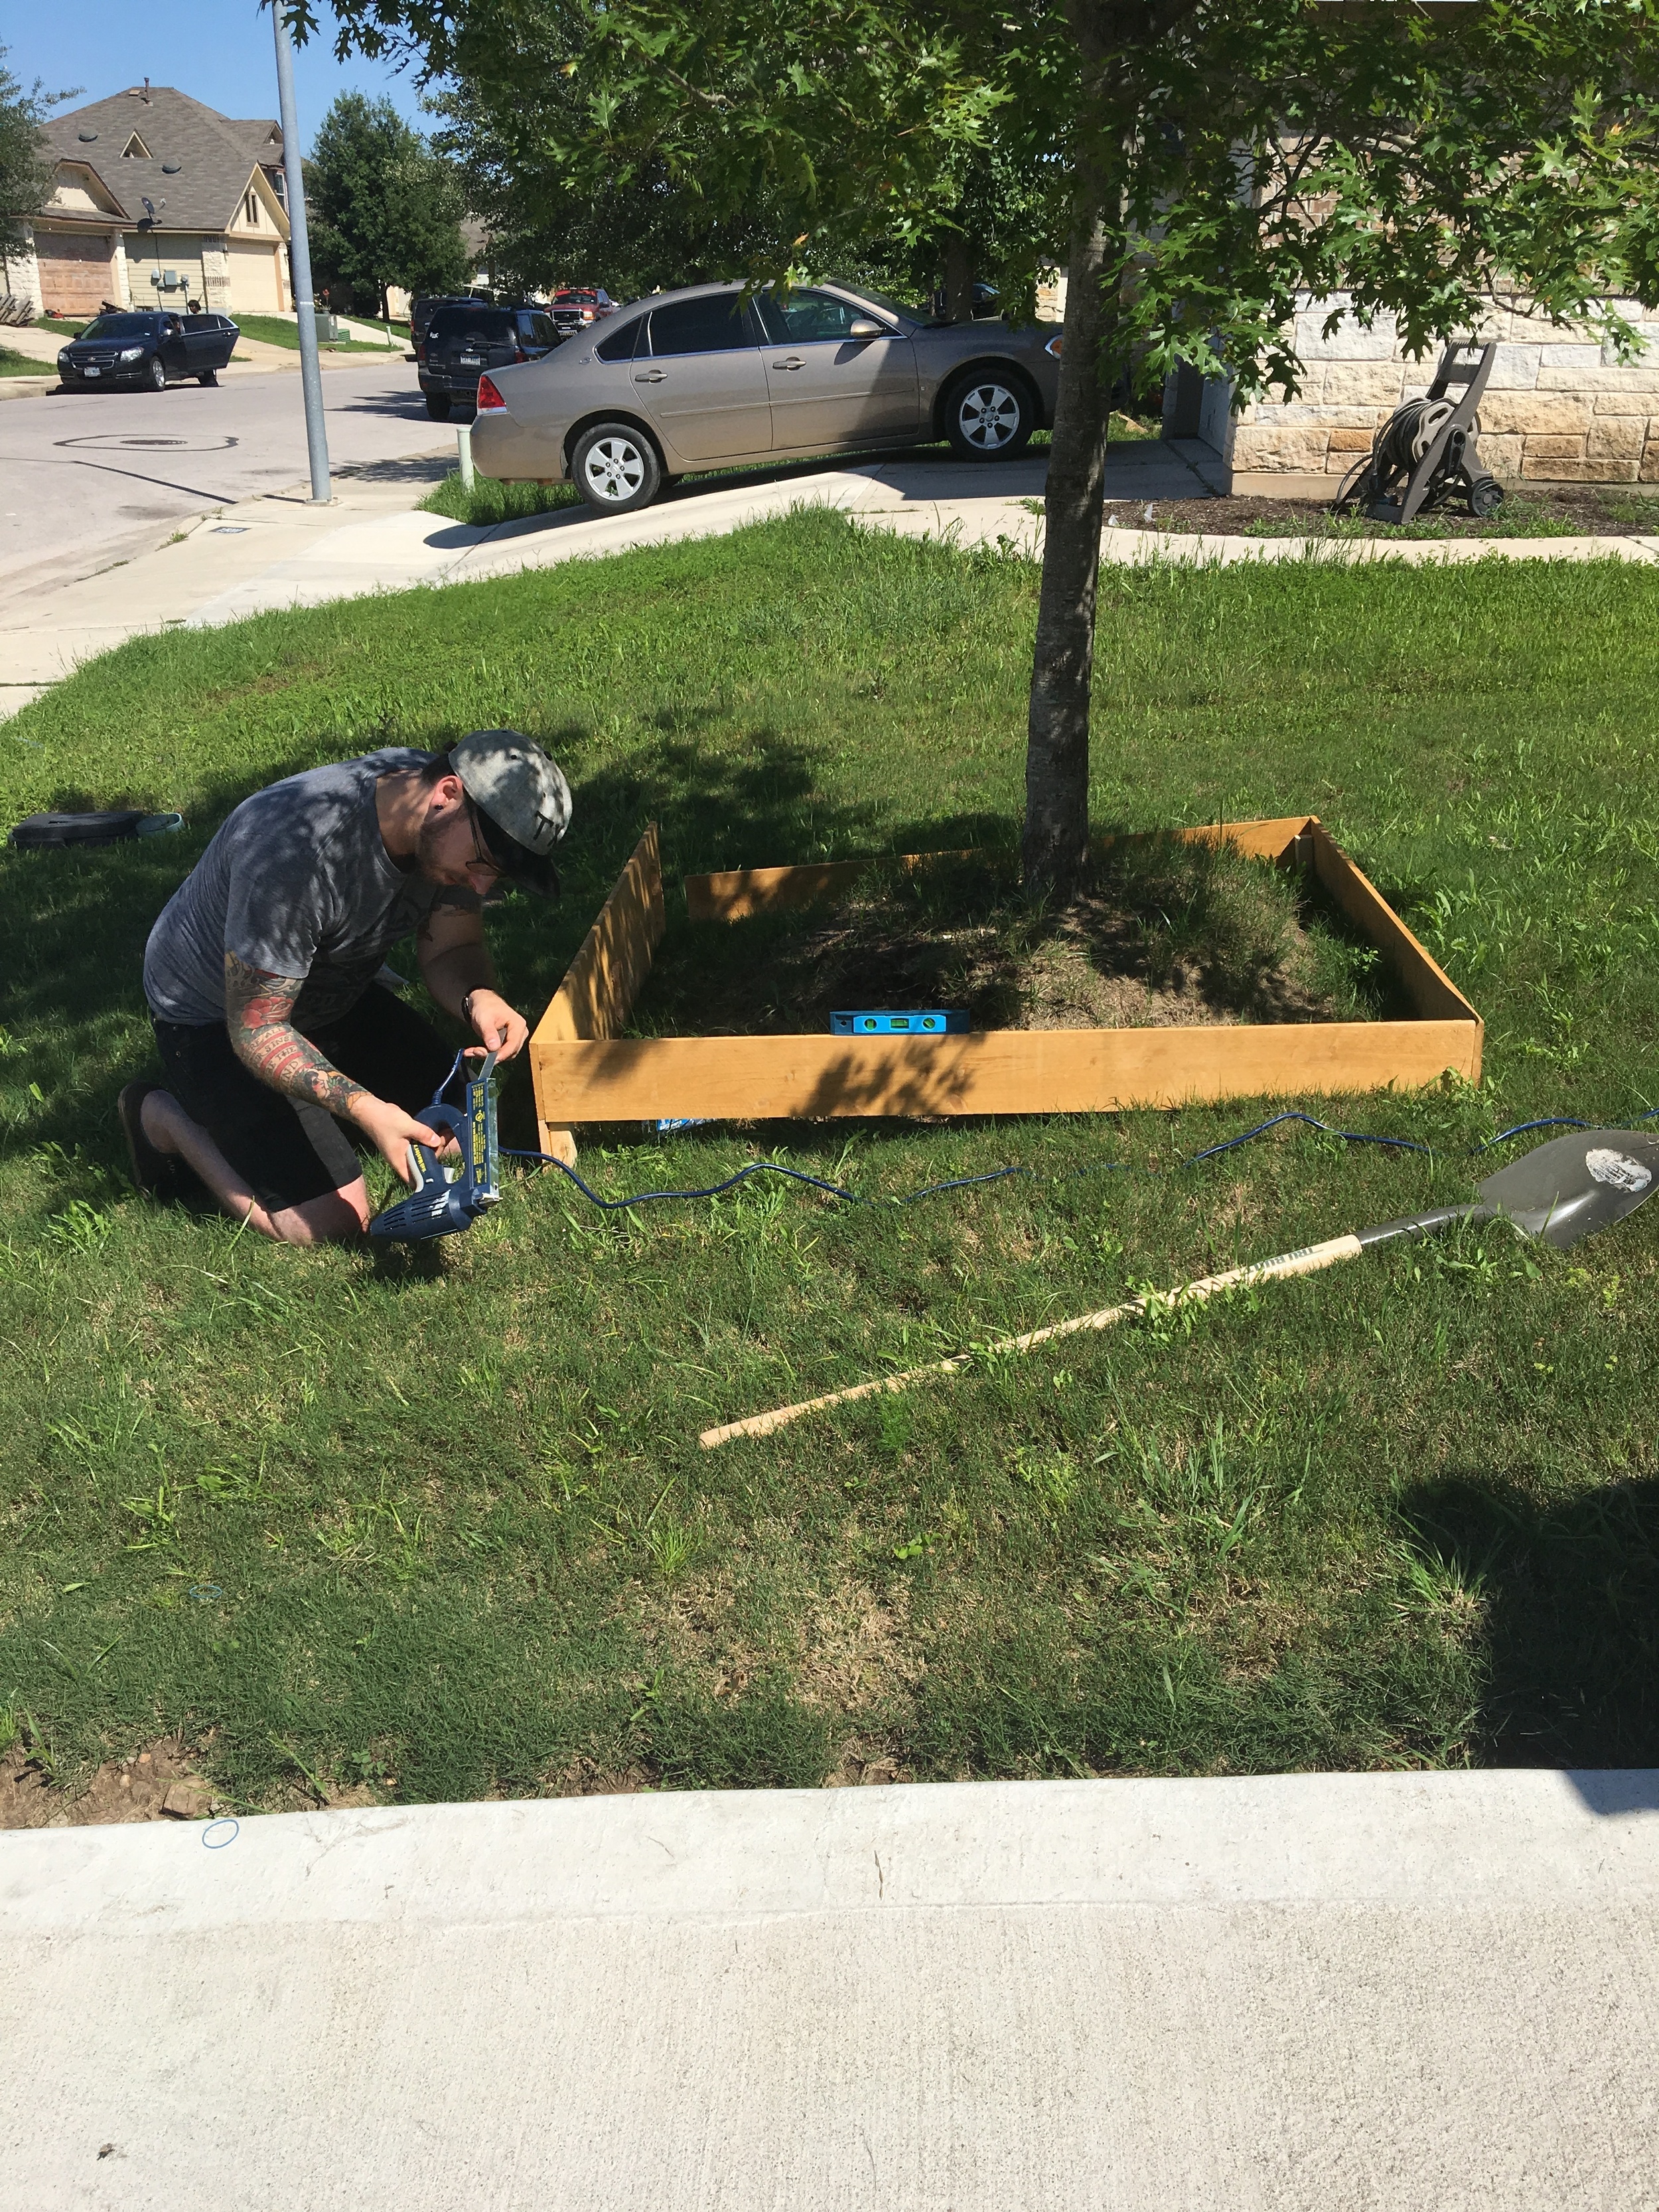
Step 6: Magically or mathematically, find a way to fill in your gap. We eyeballed it and were not successful on our first attempt seen below, but we decided to keep it since the gap is so small. We would fill it in later. We used scrap wood to attach it.

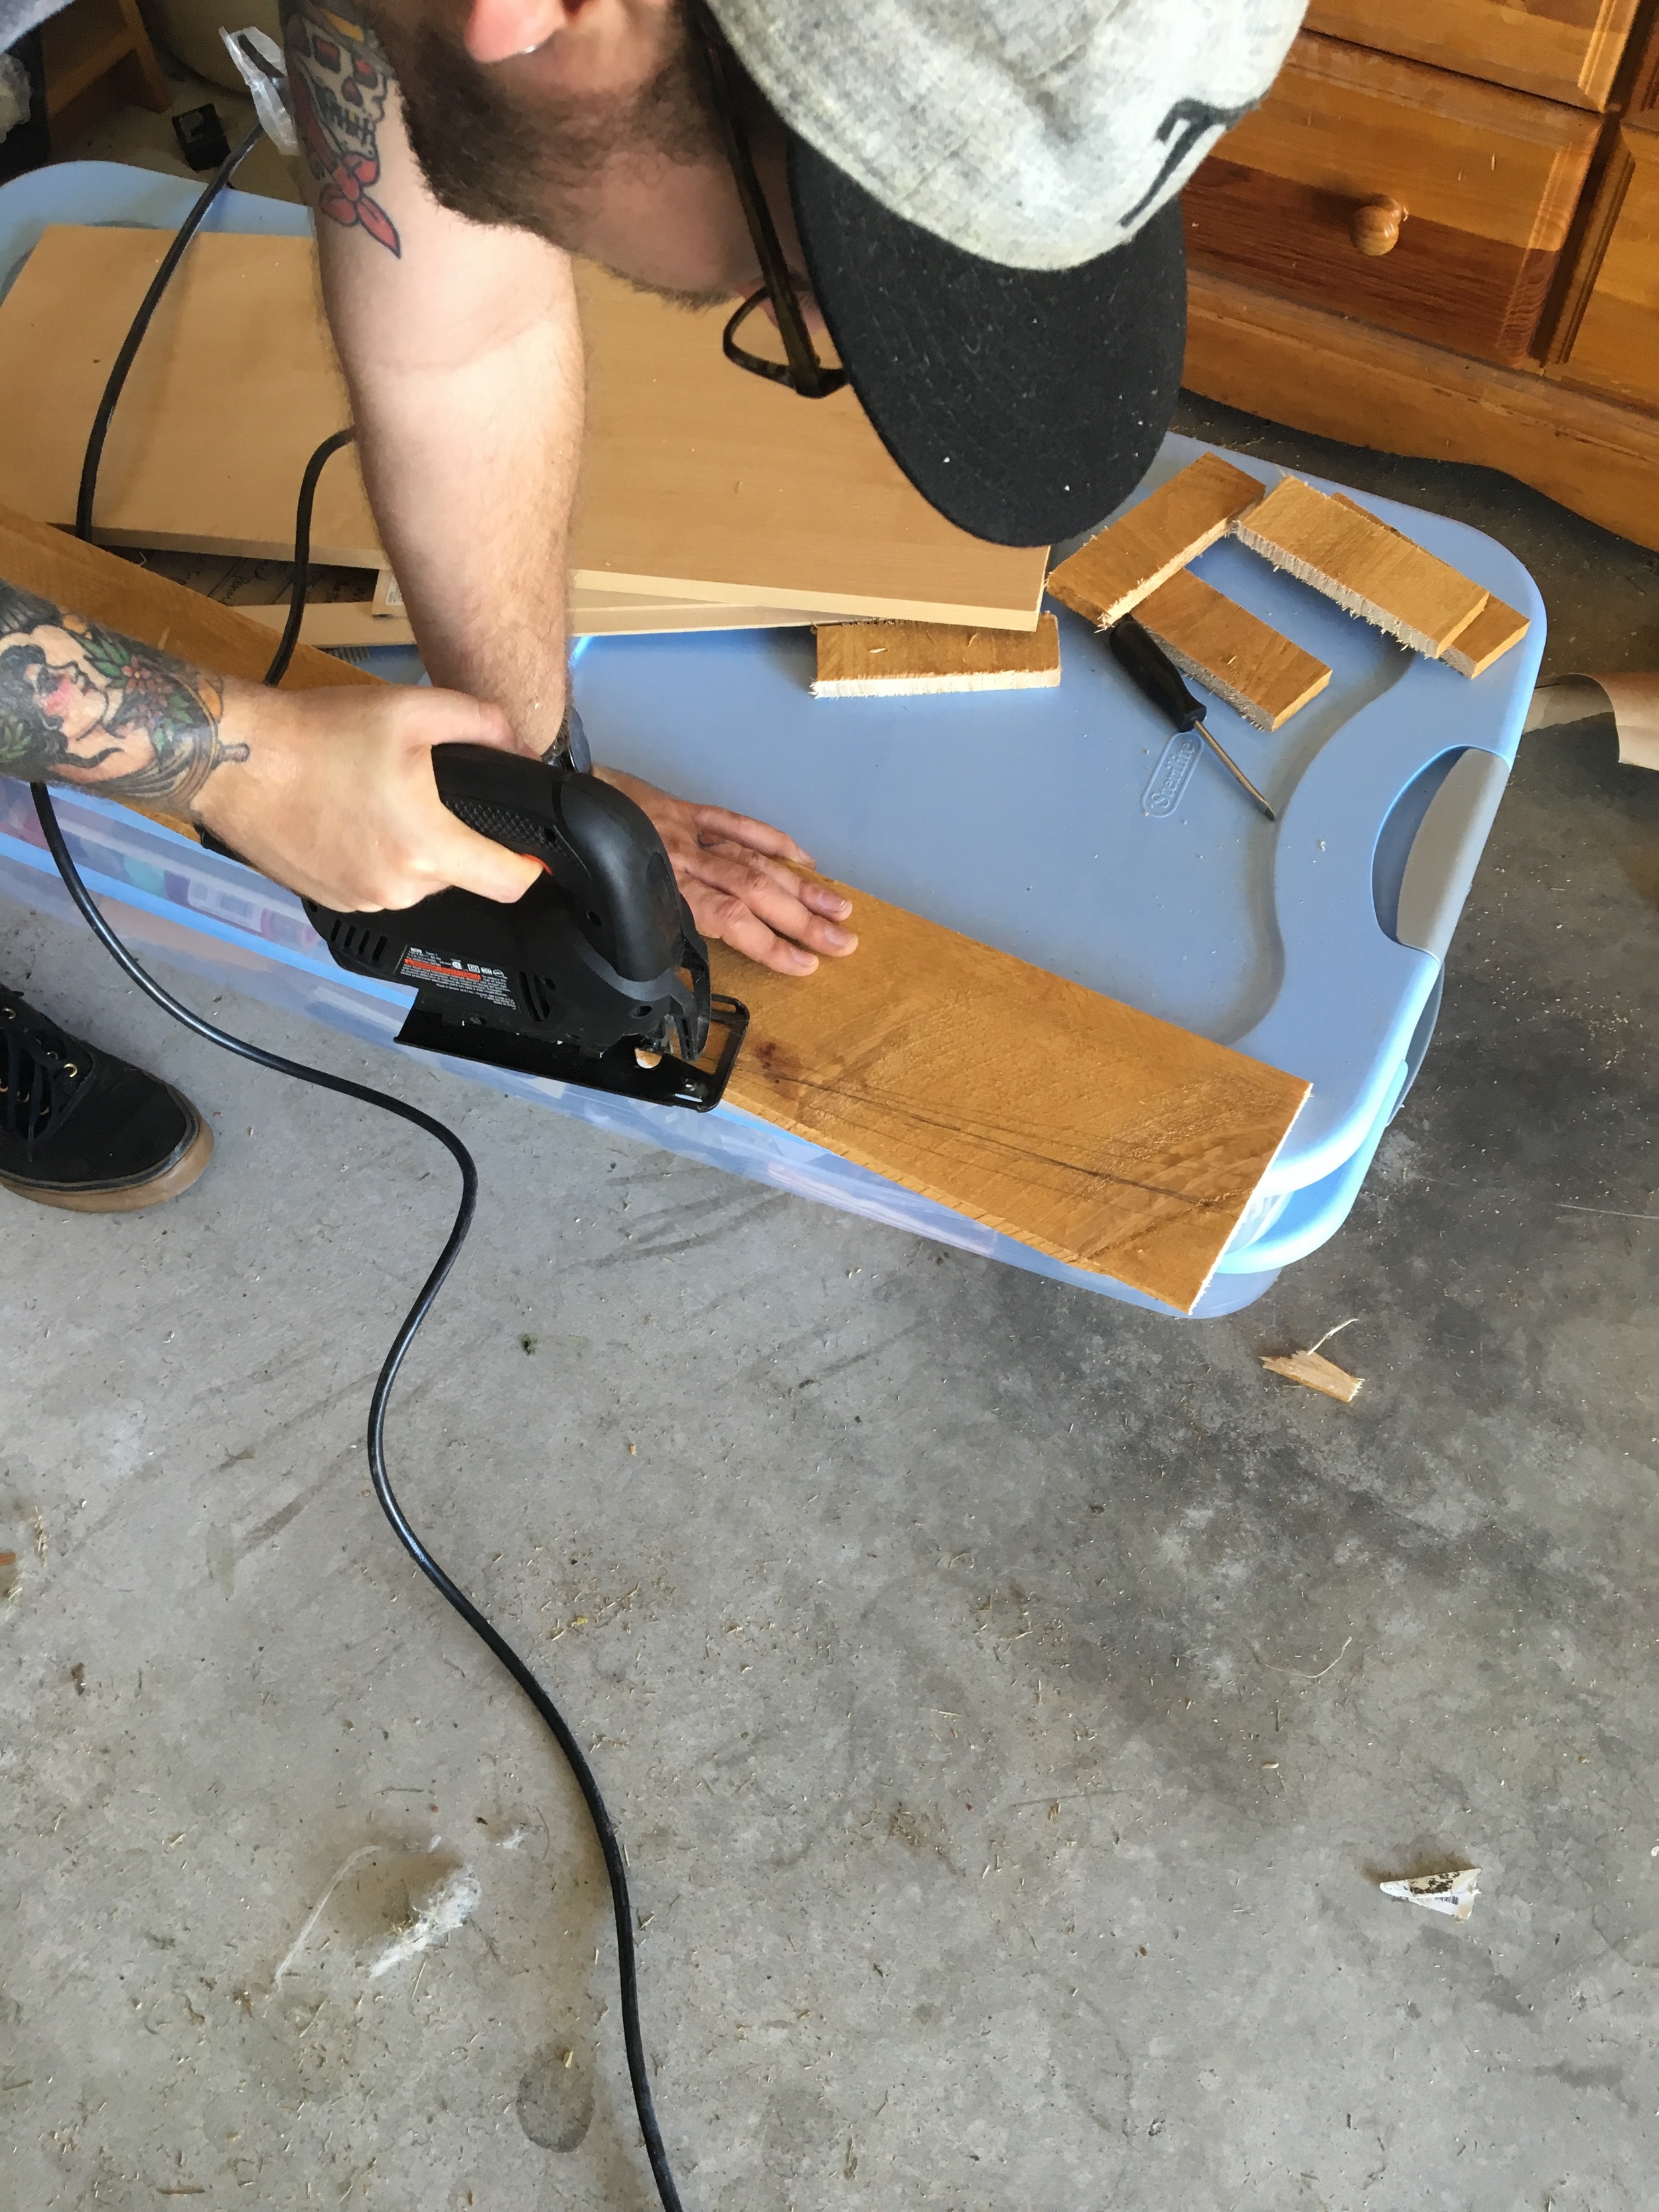
Step 8: Our next attempt was more successful but not really explainable. I used a piece of white paper and folded it to figure out the angle I needed. Then I traced that angle on the wood. Taylor used a jig saw to cut it.

Step 9: We don't have any pictures of this step, but it is not hard to follow. Taylor used a shovel to break the dirt. Tanner and I followed using my hands and tore out the grass and begin creating a trench for the box to eventually rest. We pulled out the grass inside the box.
Step 10: We removed the old mulch and began to level the dirt inside the box. We put fresh soil down and then rolled out our weed barrier.

Step 11: Do a happy dance because now you get to place pretty flowers in your bed. We chose some elephant ears, dusty millers, and some lantana. We chose perennials that could be exposed to full Texas sun.
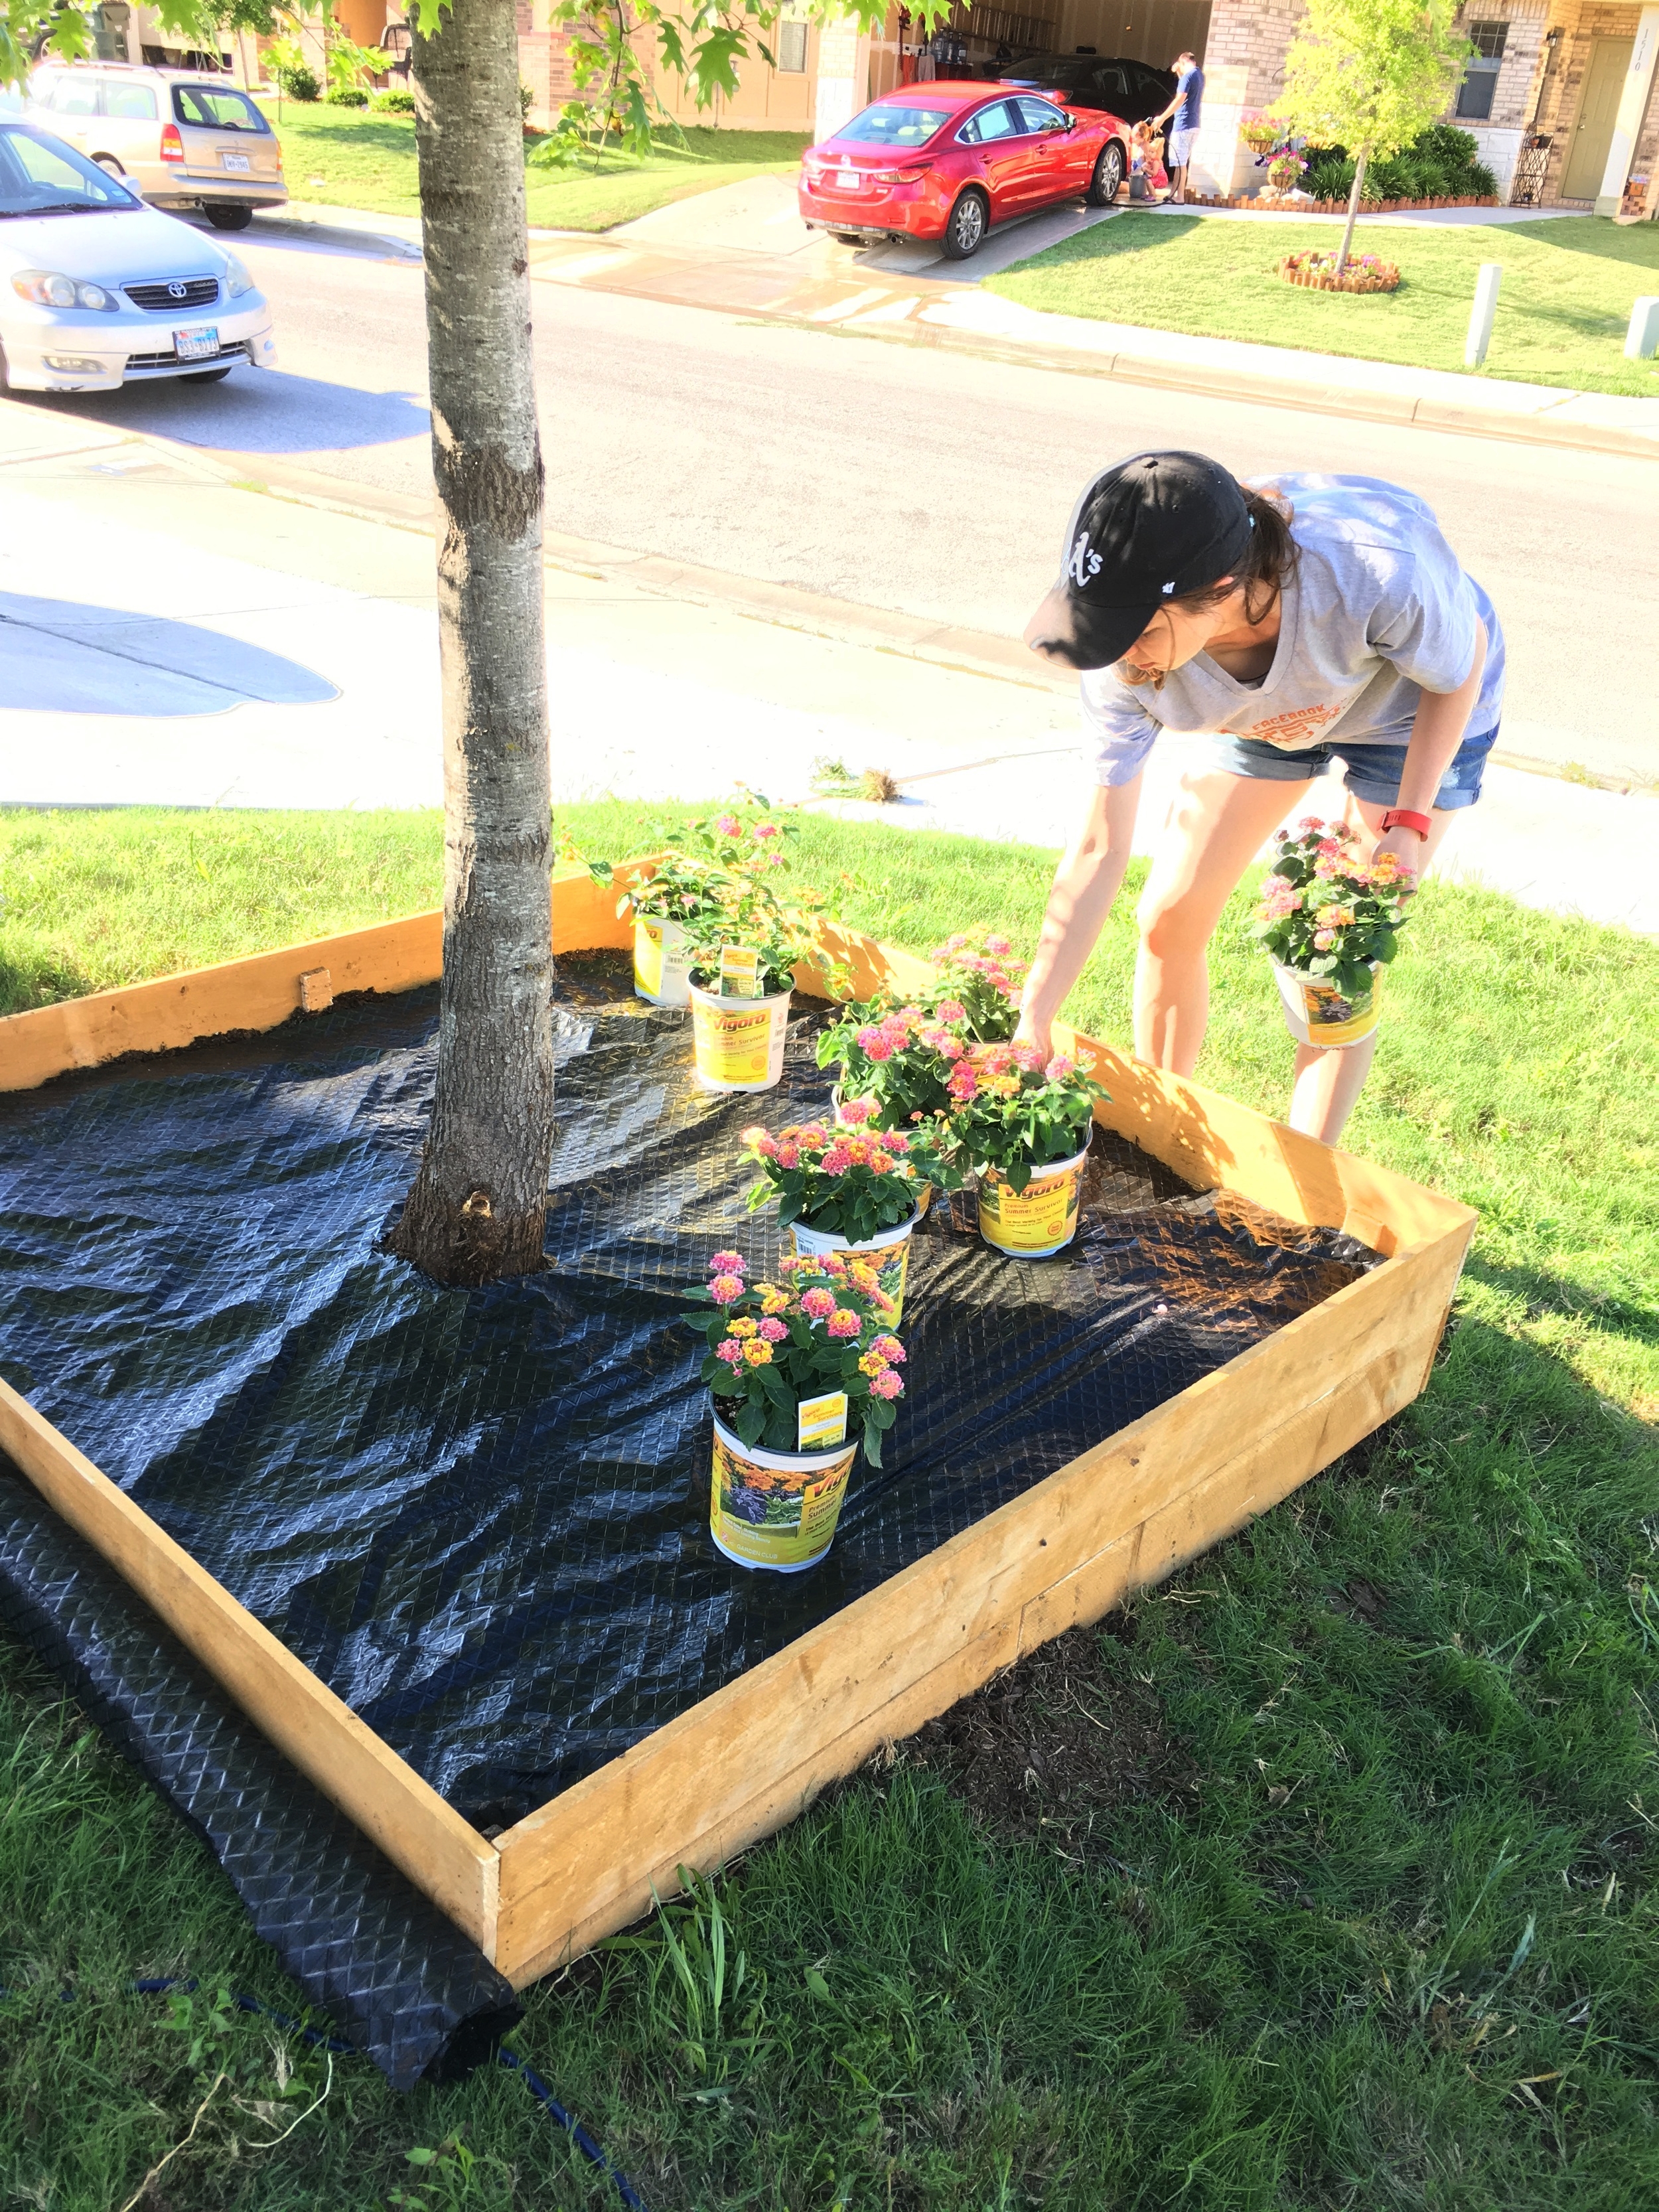
Step 12: If you have used a weed barrier, you will need to score prior to planting. Plant your flowers and then add mulch.

This project took around 3.5 to 4 hours to complete. Most of our time was spent pulling out the grass and removing the mulch, but the box only took about 1 hour to knock out.

This is the type of project that is so physically strenuous that you feel like you deserve a treat afterwards, so Taylor and I treated ourselves to pizza and movie (after a shower of course). This morning we drank coffee on our porch, so we could admire our handiwork. Here is a before and after shot.

We plan on creating one more of these boxes closer to our front door. Also, I love Spring. I thought my favorite season was Autumn, but Autumn doesn't boast pretty flowers. Anyone else doing outdoor projects this season?