Hello, New (but actually old) House!

Welcome to our 1970s ranch!  We have moved from our track home neighborhood to a neighborhood FULL of trees, people who walk their dogs, beautifully maintained yards, and general jolly-ment that I am so grateful to be a part of.

Photographing this house has proven challenging.  It is much darker than our last home, and it is still rocking brown sagging carpet, brown paneling, brown cabinets, brown counters, BROWN, BROWN, BROWN.  However, it has a 4th bedroom (meaning we will never outgrow the house), a fireplace, over 20 trees (!), and some vaulted ceilings. Our dogs spend 50% of their time squirrel hunting in the backyard which has been my new favorite hobby-- watching them do this.

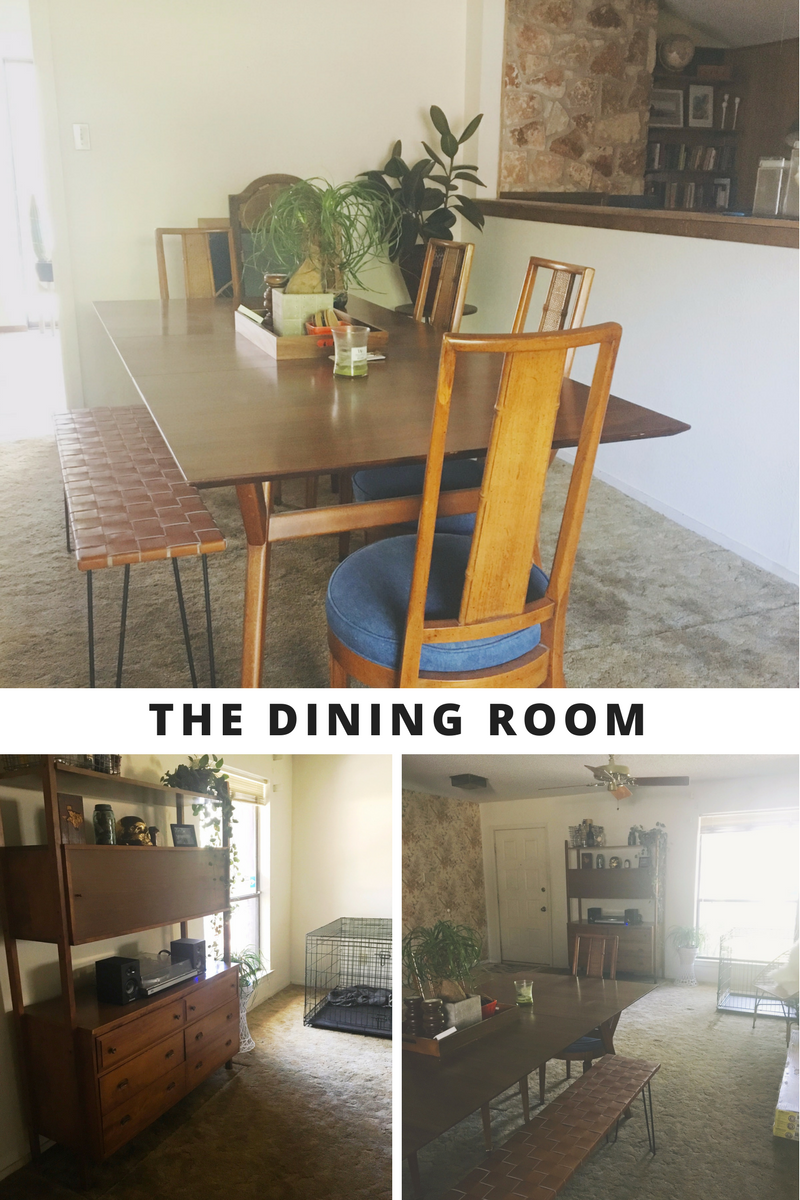
When you walk in, there is a large dining room on your left and the living room is straight ahead.  The dining room is where we keep our bar stuff and our record player; it is also where we do most of our dancing

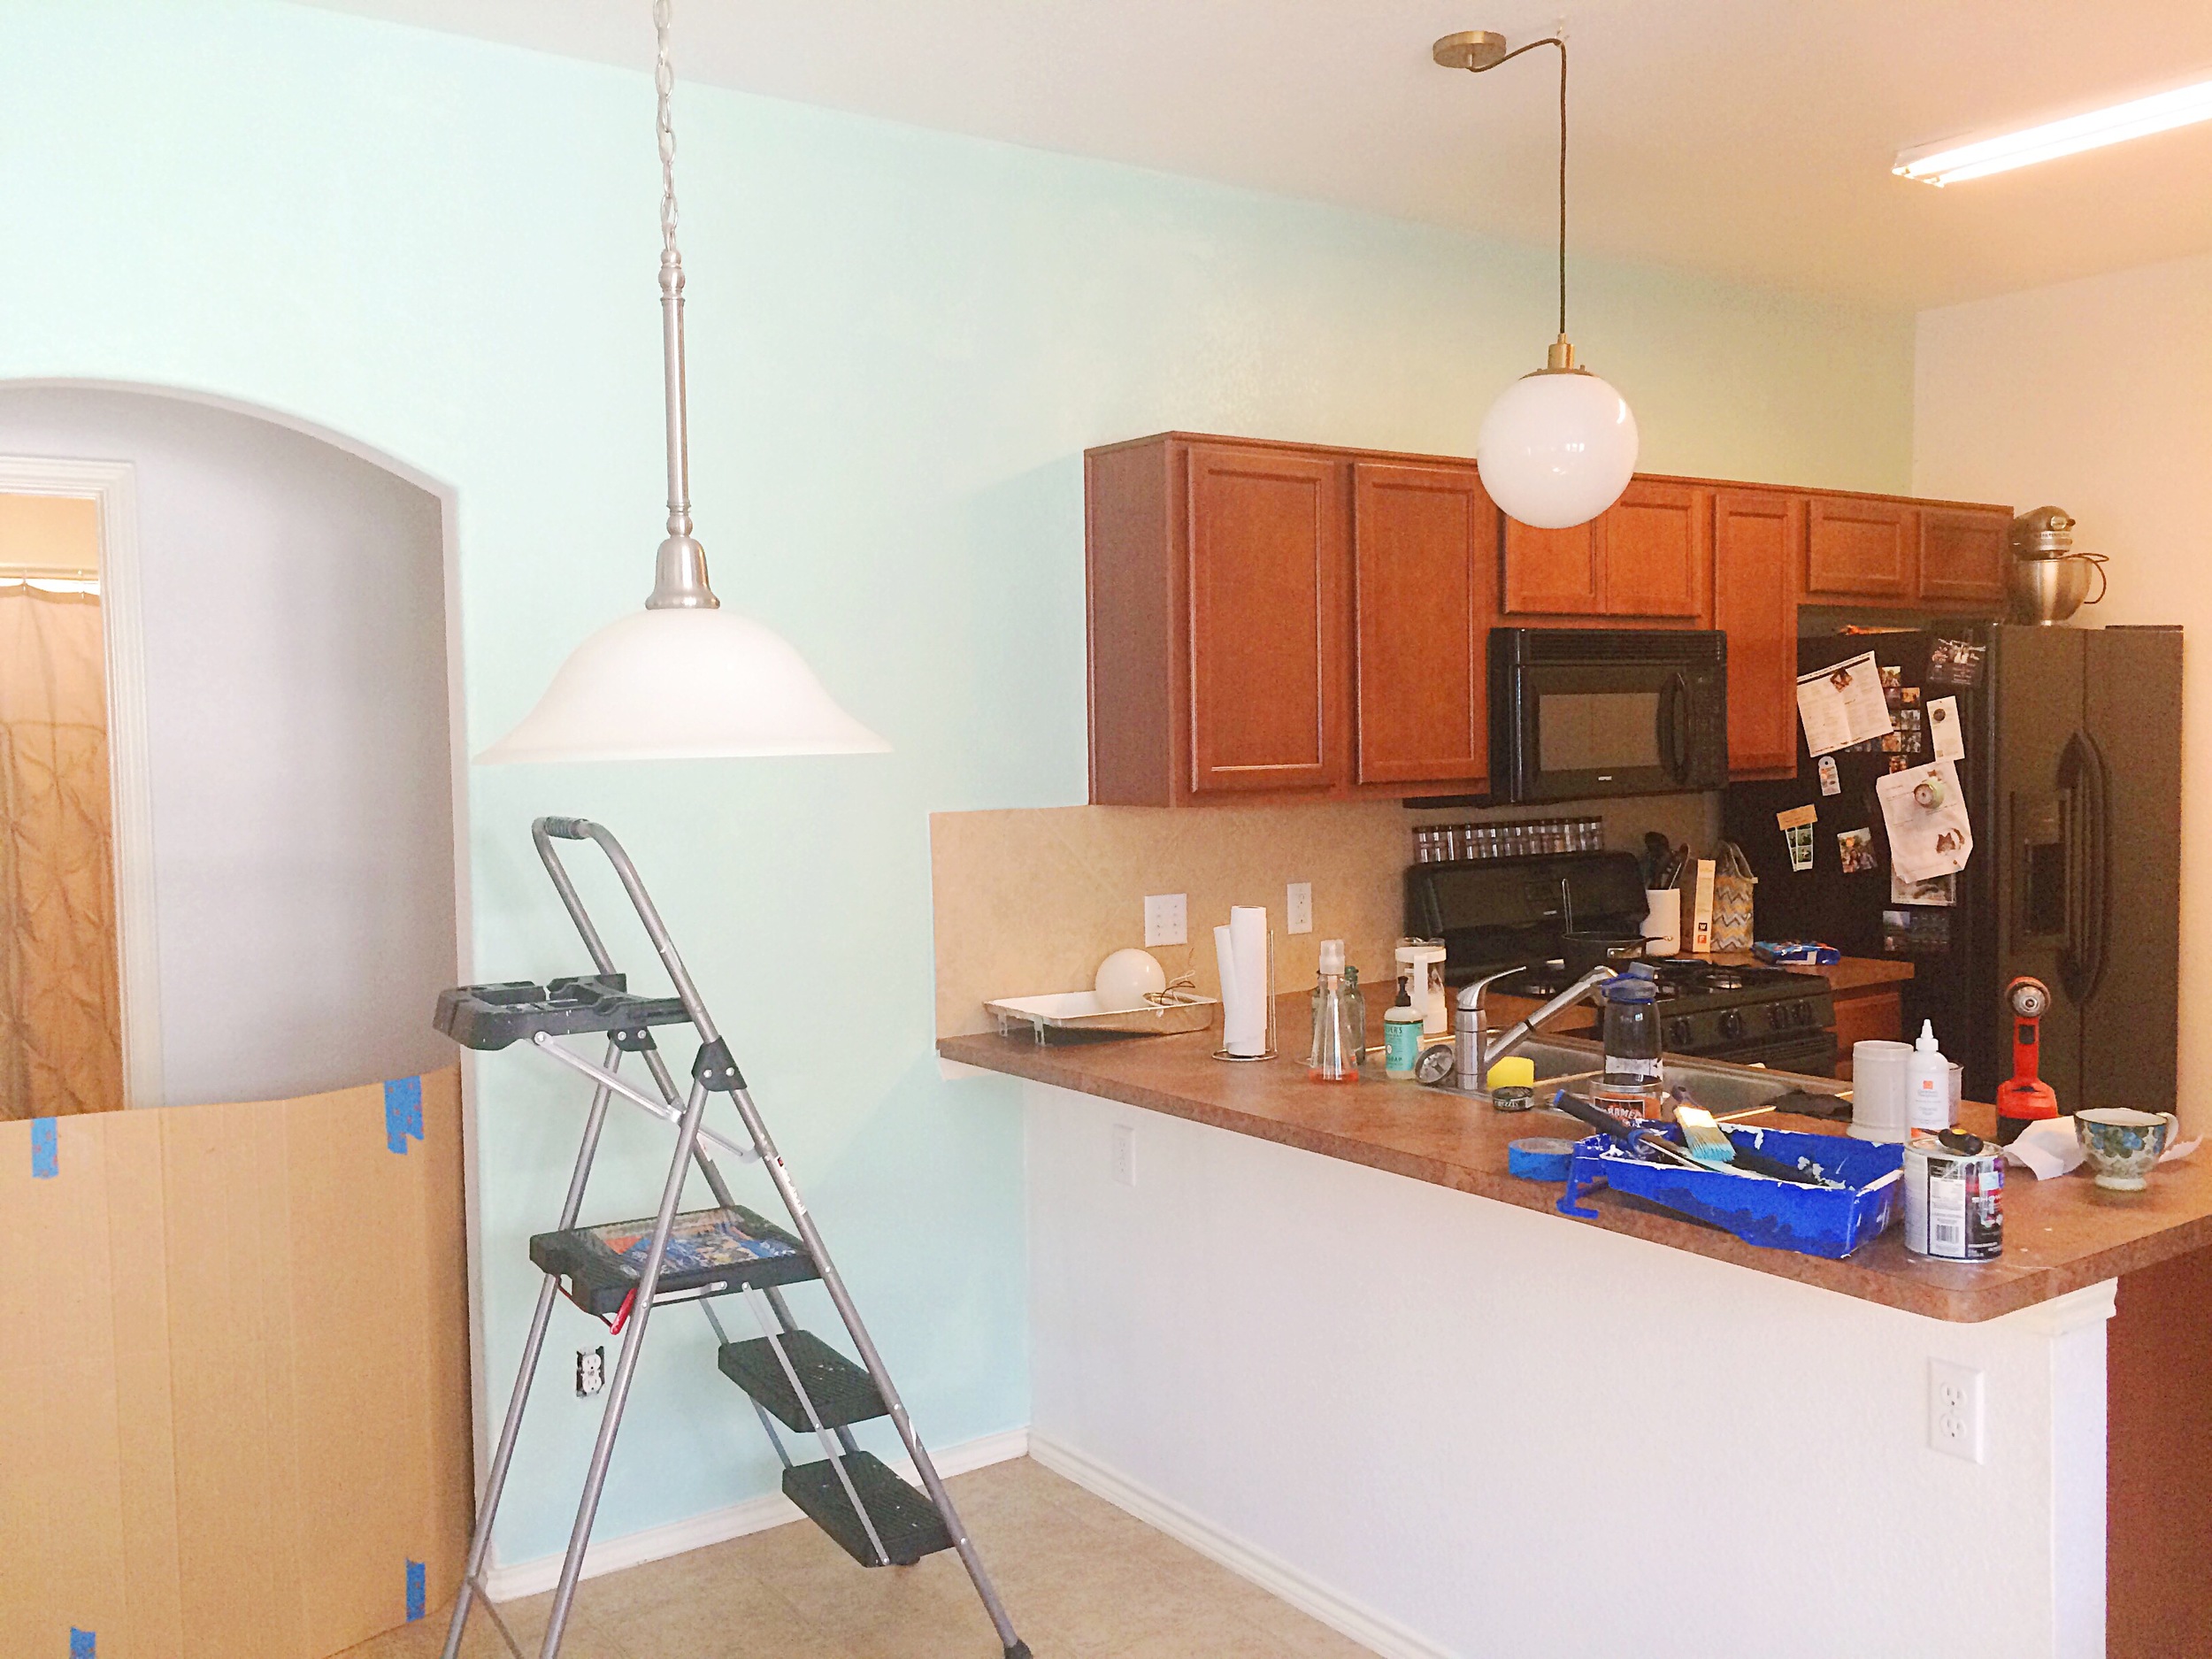
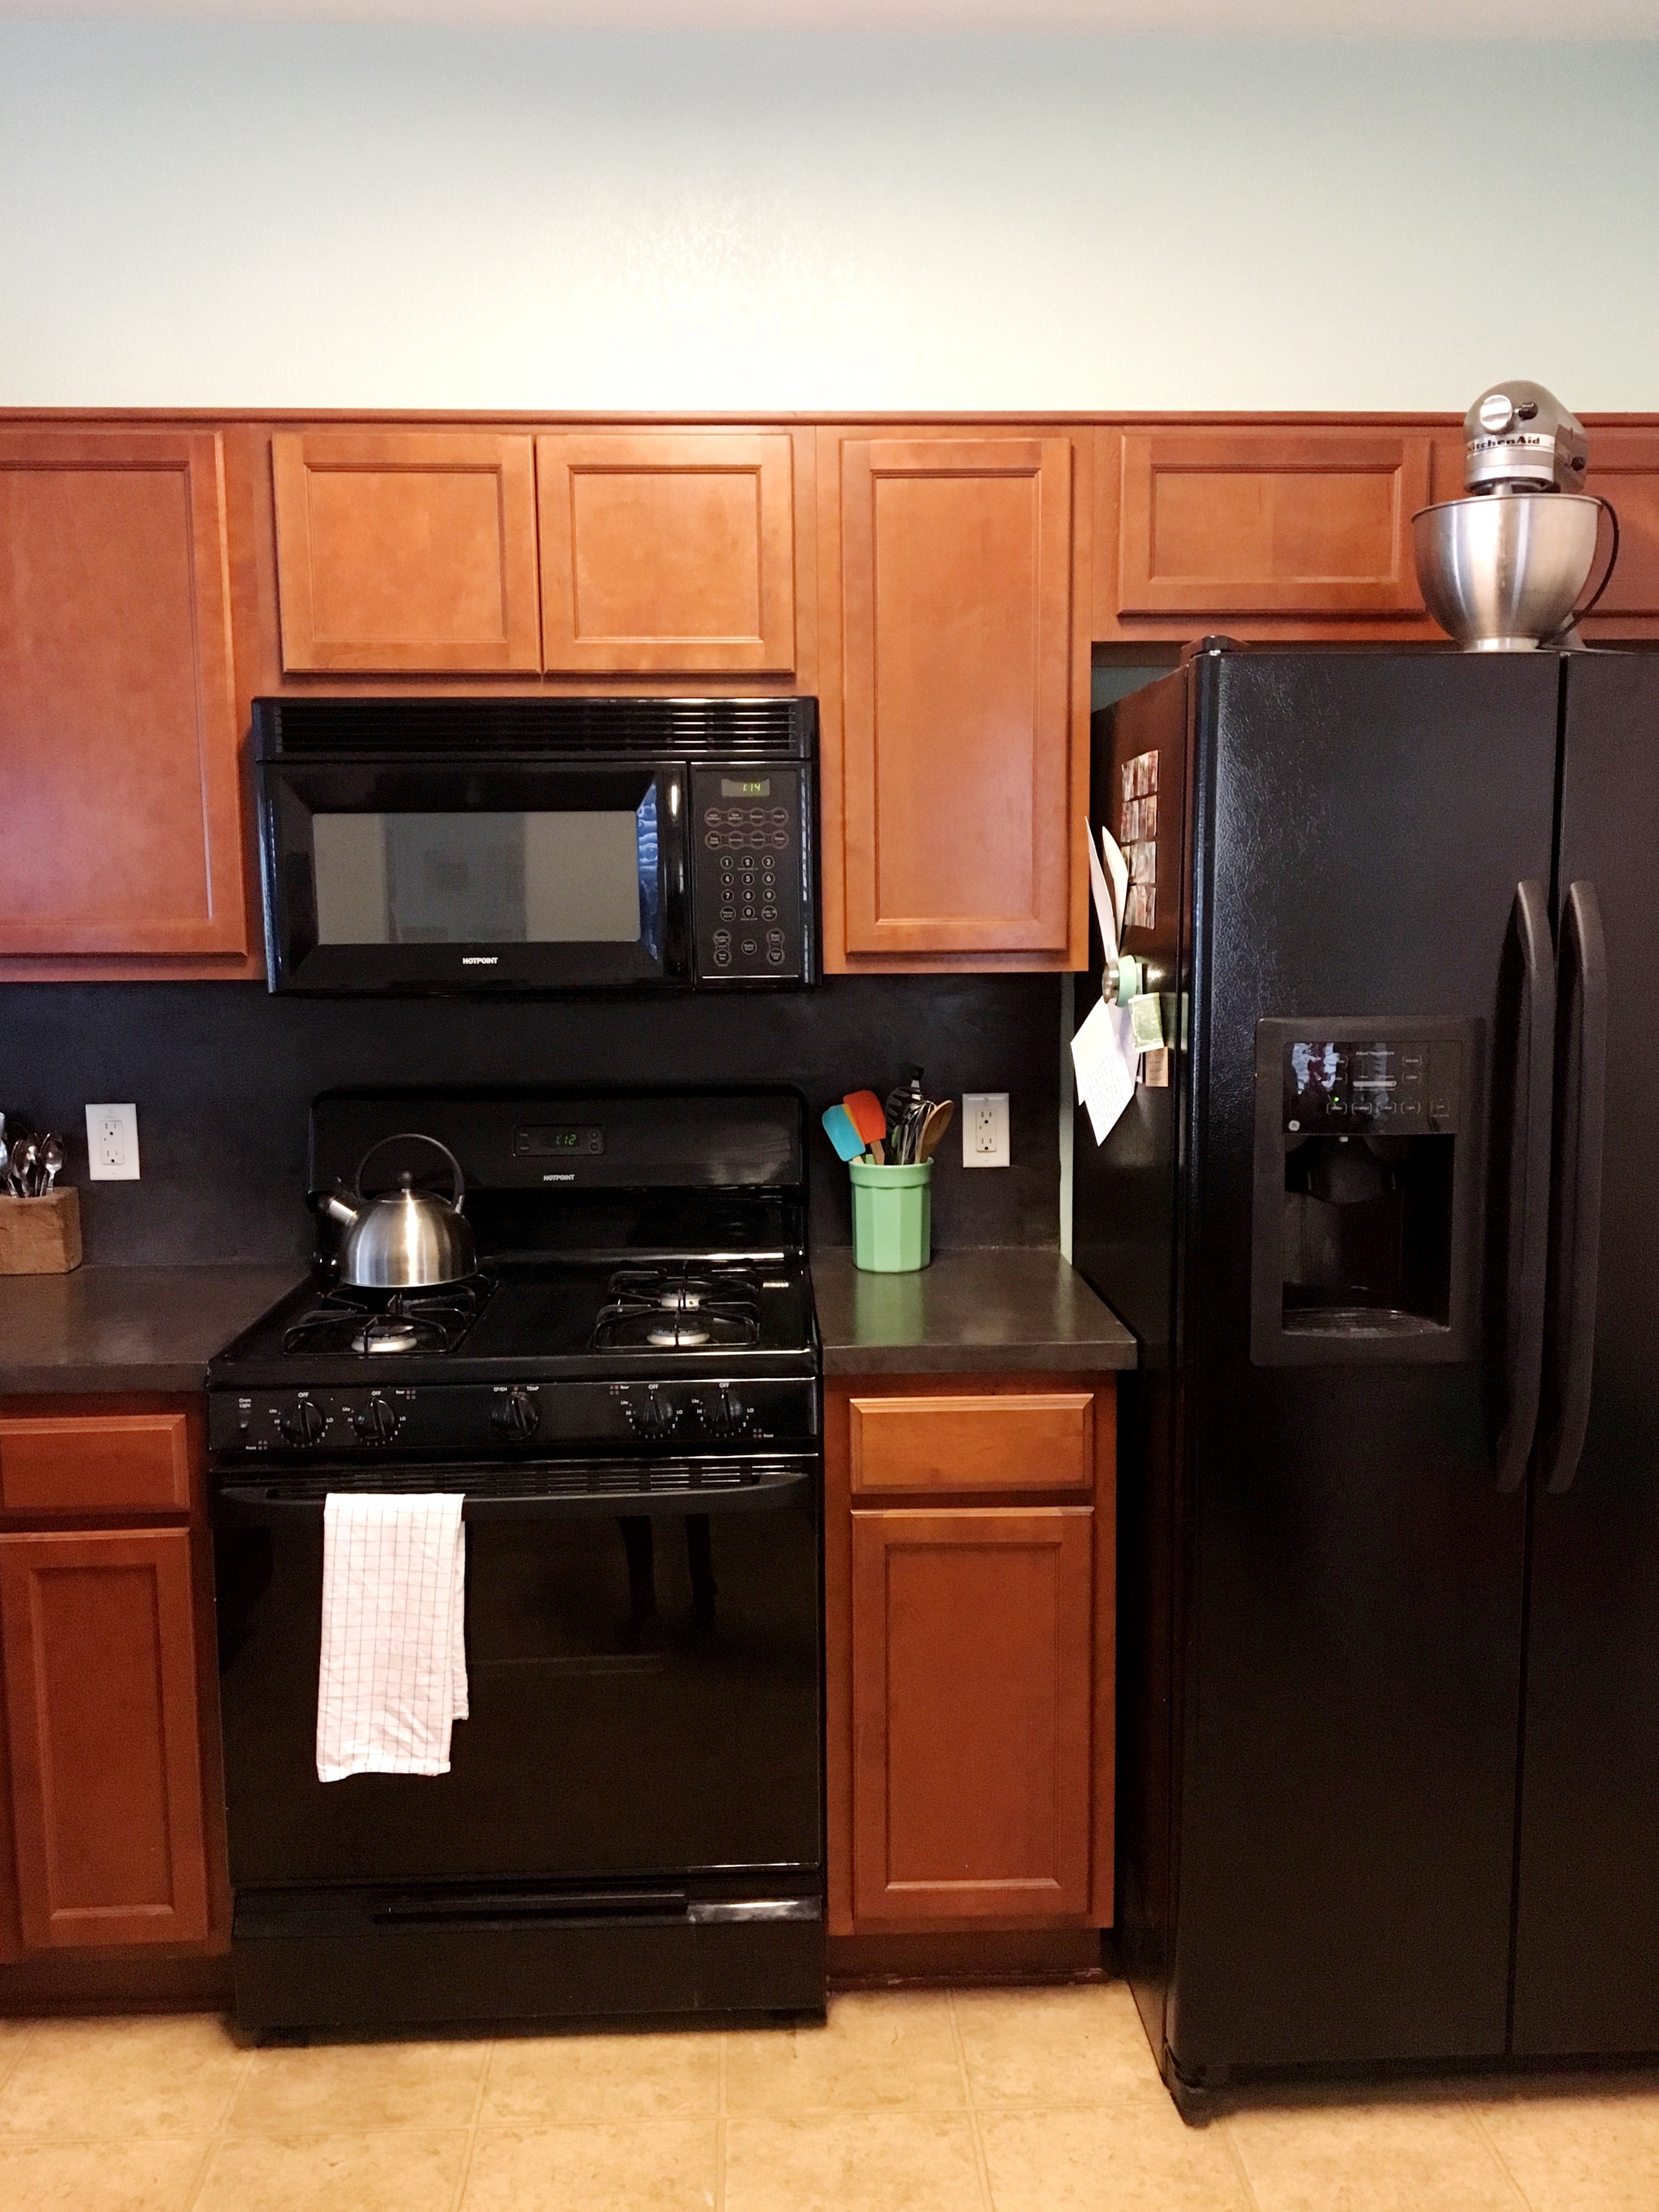
.Through the dining room, we enter the kitchen.  Our kitchen has lots of natural light and the sink looks out to the backyard.  There is lots of work to be done in here, but it is functioning just fine for now.

On the opposing side of the kitchen is our living room.  Our living room has beautiful builts in and a huge fireplace.  It is open to both the dining room and the kitchen.  It is pretty dark in there, but I can't tell if that is due to lack of windows or it is the brown paneling and heavy stone.  TBD.

The downside of 20+ trees is the raking.  We have spent the last three weekends trying to get our yard ready for Spring.  And that means just trying to get all the dead leaves bagged and thrown away.  We have used over 40 bags and still have the front yard to go.  We put up string lights last weekend, so we are spending our evenings outside watching the dogs play.

Also, is backyard one word or two?  Two for now.

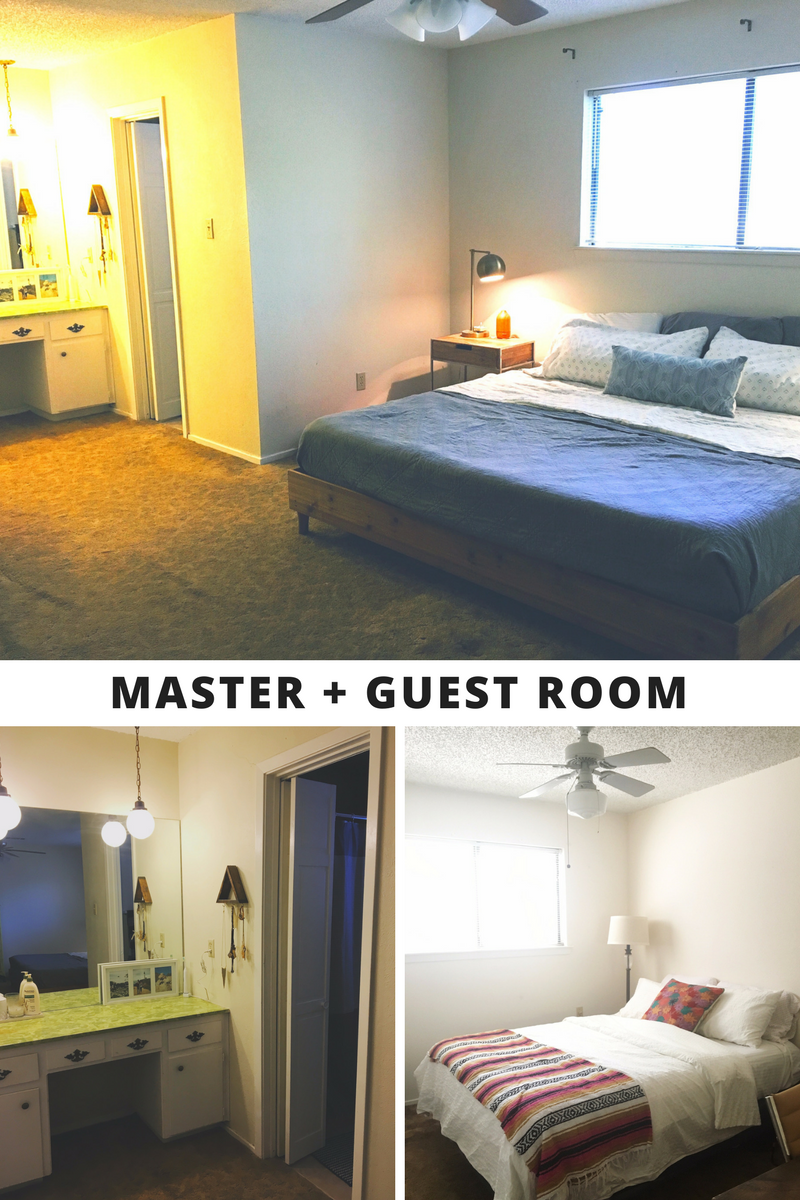
On the other side of the house are all of the bedrooms.  Look at that green vanity! We have short term plans to update our bedroom (scrape popcorn/new floors/paint), but long term plans to gut the whole vanity/bathroom/closet space.  The master bedroom is huge and the 3 other bedrooms are decent size too.

The two rooms in the front have actually gotten makeovers.  We had some friends moving in for a couple of months, so we booked it to get their rooms prepared.  We scraped the popcorn ceilings, painted the walls/ceilings/doors, ripped out the carpet, patched 1000 holes, and put new floors down.  We can't wait to do this to the rest of the house!  It is not a small feat by any means, but we are taking our time with our home.

That is it for now.  Not pictured: our laundry room-- huge mess, our creepy old shed in the backyard, and guest bathroom.

To Do List for 2017

  • Scrape 1700 square feet of popcorn ceilings
  • Replace carpet with laminate floors
  • Replace baseboards
  • Paint paneling in living room
  • Make the master bedroom not suck

Before and After: Our Concrete Counters

When we bought our house last year, our kitchen looked like this. You can see more here.

Concrete Counters Before and After 1 thegreatgoodness.com
Concrete Counters Before and After 2 thegreatgoodness.com

Totally lovely.  Huge compared to our last space.  And very brown.  (Sidenote: I am grateful for the counter space, for the gas stove, and FOR THE LOVE OF GOD- THE DISHWASHER.  Seriously, before moving here, we had gone on three years without a dishwasher.  If you have lived your whole life with a dishwasher, you have no idea... the turmoil, the despair, and the anxiety that comes with hand washing every.single.last.freaking.dish.glass.utensil.)

Well, we painted the yellow/beige walls white and mint which brightened it up quite a bit.

Concrete Counters Before and After 3 thegreatgoodness.com
Concrete Counters Before and After 4 thegreatgoodness.com

Anyway, the counter was really bumming me out.  Here is a zoomed in version of our counter tops. 

Concrete Counters Before and After 5 thegreatgoodness.com

It had an amoeba/what-you-would-see-if-looking-at-a-petri-dish-through-a-microscope quality that didn't really sit well with cooking and serving food.  Alas, it had to go.  The problem we were facing was how to tie in our black appliances.  We eventually would like to paint our cabinets white (original, I know), but we do not want to replace our appliances.  For one thing, I like to operate that if it ain't broke, don't waste money replacing it. And second, I don't hate black.  In fact, I love black.  However, if our cabinets are white and then we have this black microwave sitting pretty right in the middle, it would look off balanced and out of place.  For example:

Concrete Counters Before and After 6 thegreatgoodness.com

Right?  Your eyes goes straight to the appliances.  So I googled my heart out and found this very right on article about how to make white cabinets and black appliances work.  Thank you for figuring this out for me!  Kylie says that black appliances need something to grab on to -- think black countertops and dark backsplash or 'blacksplash' if you will.

When I read that Little Green Notebook had found a way to tint her concrete counter tops black, it was go time.  We followed Young House Love's instructions for the how to.  I would do a few things different, which I will get to in a second.  I waited until Thanksgiving break, so I could tackle the project as quickly as possible.  This is a project that will make cooking in your kitchen impossible for 3-4 days, so keep that in mind if you plan on doing it yourself.  Here are some of the befores.

Concrete Counters Before and After 7 thegreatgoodness.com
Concrete Counters Before and After 1 thegreatgoodness.com

I took very few pictures of the process. Essentially, it went like this.

Step 1. Mix concrete.

Step 2. Spread concrete.

Step 3: Allow it to dry.

Step 4: Sand your brains out.

Step 5: Repeat.

Here is just a small part of the mess that was made.

Concrete Counters Before and After 8 thegreatgoodness.com

And without a shop vac, I resorted to this guy.

Concrete Counters Before and After 9 thegreatgoodness.com

It was an arduous task to mix the concrete then spread it and then sand it.  My shoulders and arms were so tired.  Here is what the counters looked like before the sealer went on.

Concrete Counters Before and After 10 thegreatgoodness.com
Concrete Counters Before and After 11 thegreatgoodness.com

The one thing I would do differently is mix the concrete in cheaper, disposable containers.  The buckets I used were not disposable, and I only purchased two, so I had to clean off the dried concrete before mixing a new batch. 

Here are the afters.

Concrete Counters Before and After 12 thegreatgoodness.com
Concrete Counters Before and After 13 thegreatgoodness.com
Concrete Counters Before and After 14 thegreatgoodness.com

I think once the cabinets are painted white and hardware is added, the kitchen won't appear as dark as it does in these photos.  I am saving painting cabinets for some day far in the future- most likely this summer.  We love how they turned out, and we did it all for under $200.  We call that a win in the Brack house. 

Still left to complete in the kitchen:

1. Paint cabinets

2. Choose and install hardware

3. Replace the florescent light

4. Add some can lighting

5. Paint the door

6. Find a cute rug

7. Add some open shelving on the empty wall

Let's do one before and after, shall we?

Concrete Counters Before and After 15 thegreatgoodness.com